Zucchini boats
How to make zucchini boats using ingredients you already have!
Got zucchini? We’re making stuffed zucchini boats and if you have the zucchini, you really shouldn’t have to leave home for ingredients! You can really use your leftovers to stuff them — hence cleaning out the fridge and bringing you closer to zero waste. It’s a win-win!
So we will make the recipe according to what I had in the garden and in my fridge….
One ingredient that isn’t flexible is your zucchini… you’ll need large ones to use as your shell.
Trim the ends of the zucchini, cut them in half lengthwise and scoop out your seeds and pulp. Don’t toss it… you can use the pulp and seeds as one of the ingredients. I save my seeds for planting and I share them on our Etsy site.
Back to the ingredients… again use what you have. I grabbed onions, bell peppers and more zucchini from the garden and chopped it all up before adding it to a skillet. This is where you would add your zucchini seeds and pulp. Cook the ingredients for about five minutes.
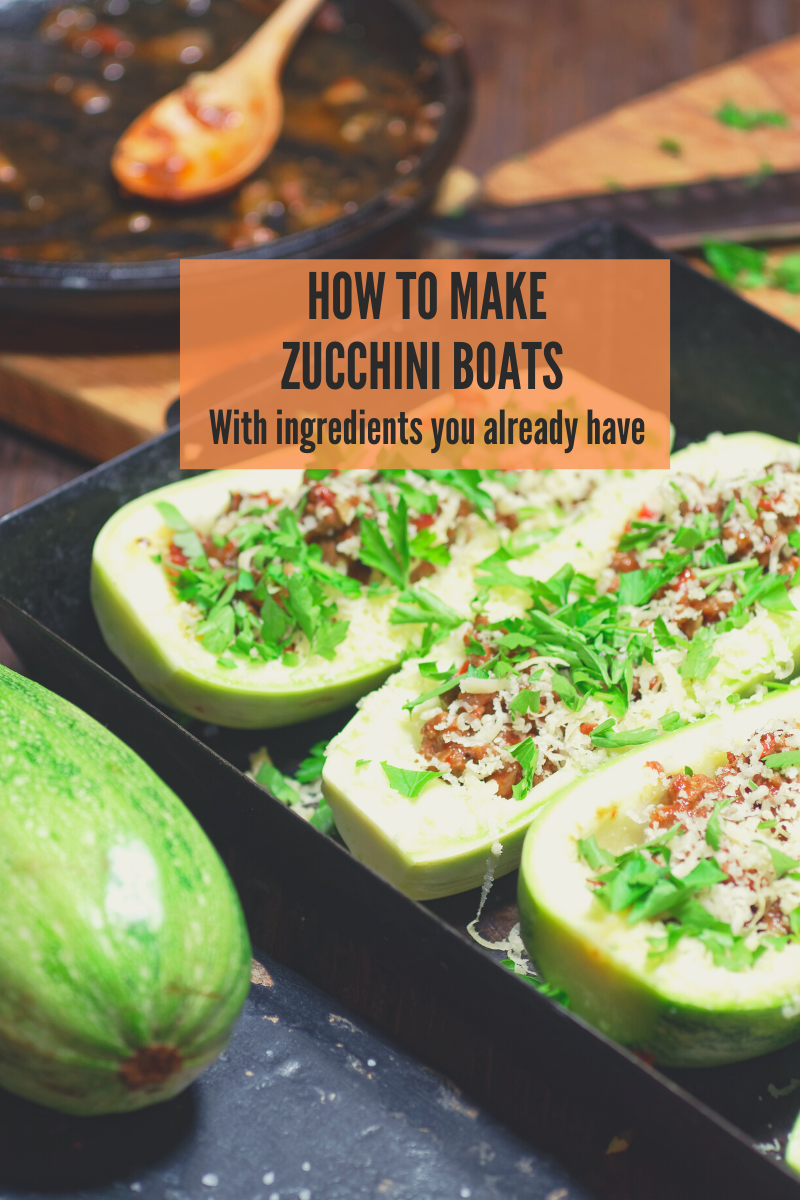
Next you’ll spoon everything into your zucchini boat.
I started with tomato sauce, then black rice, cooked veggies and topped it all off with vegan cheese.
Let it cook at 350 degrees for about 30 minutes.
Garnish it with fresh veggies and you’re done… Looks and tastes so yummy and you can make it as healthy or decadent as you want.
Let us know if you make it and if so, what ingredients you use!
RECIPE DETAILS
Ingredients (Flexible)
- 2 large zucchini
- 1 small onion, chopped
- 1/2 cup chopped bell peppers
- ½ cups shredded cheese
- Other ideas – mushroom, rice, beans, spinach
Directions
- Trim the ends off zucchini. Cut zucchini in half lengthwise; scoop out seeds and pulp. Save the pulp/seeds for the meal, or save the seeds for planting.
- Add ingredients to a skillet… I used onions, bell peppers, and sliced zucchini. Cook for about five minutes
- Spoon everything into your boat, I started with tomato or spaghetti sauce, then added some leftover black rice, then my stir-fried ingredients and topped off with vegan cheese.
- Place in a greased 13×9-in. baking dish and bake, uncovered, at 350° until zucchini is tender, about 30 minutes.
- When finished, add fresh garnish. I used onion and society garlic chives from the garden. DELISH!