How to beat inflation
6 ways to Beat Inflation with Regenerative Agriculture
How to beat inflation. It’s really about learning how to recycle your materials. We think with the end in mind. So from the waste of the things we buy, we make sure that we can utilize them in our gardens. Our recycled materials are turned into fertilizers, microbes & soil, and from soil to produce. That savings in produce save us a lot of money over time.
The average American throws out about 5 pounds of waste per day. At least 32% of that is recyclable. That’s about a pound a day or 30 pounds per month…..and that’s where the gold is. Nature already knows how to recycle and rework those materials. So with nature’s assistance, this material is reworked to help go against inflation. As a bonus, It also helps reduce your environmental impact. So I’m going to discuss with you six ways we beat inflation with regenerative agriculture principles.
1. We compost our cooked food waste through a process called Bokashi. It’s a Japanese method of composting that uses a special type of bran to ferment food waste. After it ferments, you can bury it in your garden to become nutrient-rich soil. This process also creates a nutrient-rich liquid that we use as a fertilizer. Since we only buy and grow organic food, we get the benefit of being able to rework all of our food waste into our garden. Nothing we buy goes to waste.
2. Second, we compost all of our raw food waste. We have worm bins buried in our garden and add all of our raw food scraps to it. We also add leaves and yard waste to the compost bin to help with proper composting ratios. We even shred some of our paper waste and add it to the compost bin. Paper waste is a good source of carbon, which is necessary for the composting process. The worms and other insects break all this down within a few weeks, making it nutrient and microbial-rich and immediately ready for use in the garden. Composting like this is three times faster than traditional composting.
3. Third, we mulch tree clippings and put them back into the garden as compost. Mulch helps to keep the soil moist and suppress weeds. It also breaks down over time and adds nutrients to the soil. Three trees give us enough clippings to mulch our entire garden twice yearly. This replaces having to buy outside soil.
4. Fourth, we compost our orange peels, egg shells, and wood ash from the fireplace. These offer unique NPK ratios that help make specific soil and fertilizer arrangements. We are also able to add microbes from diverse sources like worms, chicken & fish waste, and bokashi.
5. Remember, we are in the desert; so we conserve our water. We collect rainwater and use greywater. Greywater is wastewater from sinks, showers, and baths. We reuse it to water our trees. We collect rainwater and use it to offset our drinking water cost, and it’s much healthier to bodies. Overall It’s a huge savings on water costs.
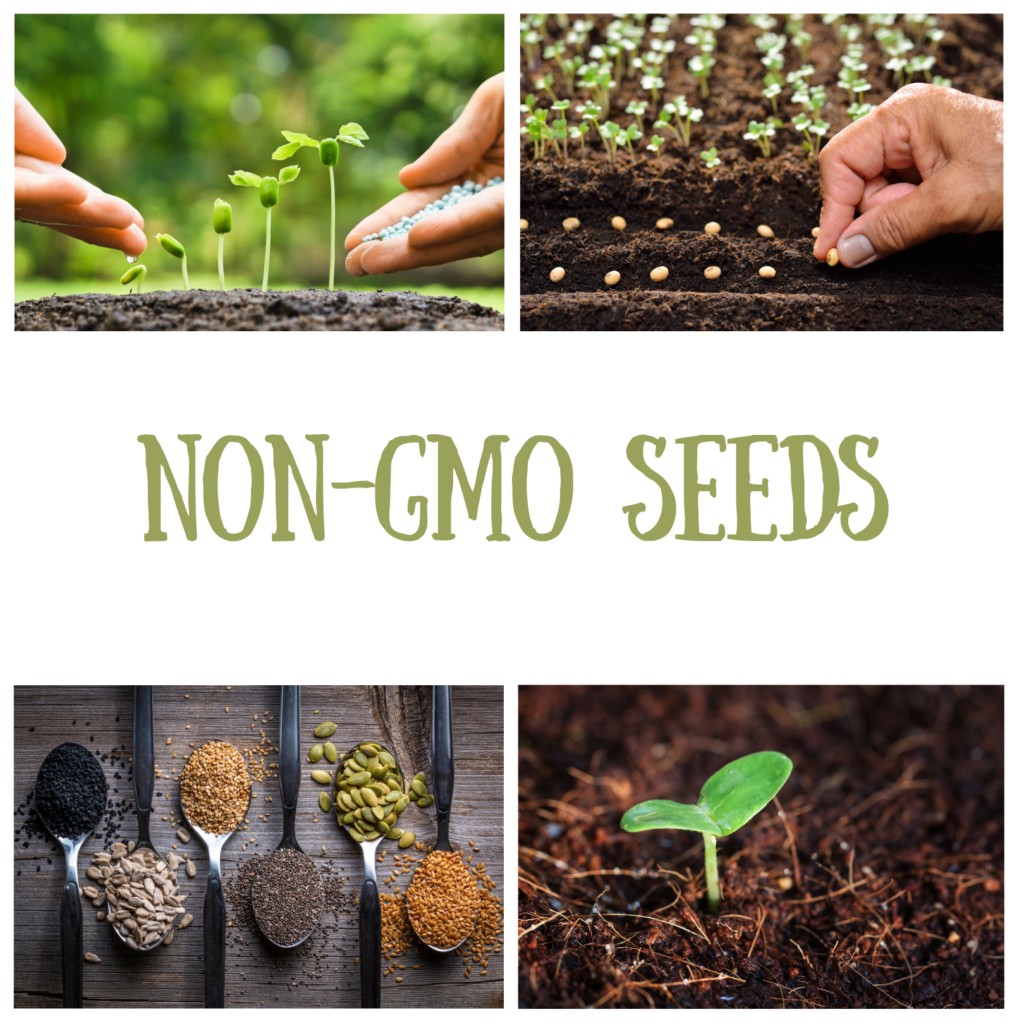
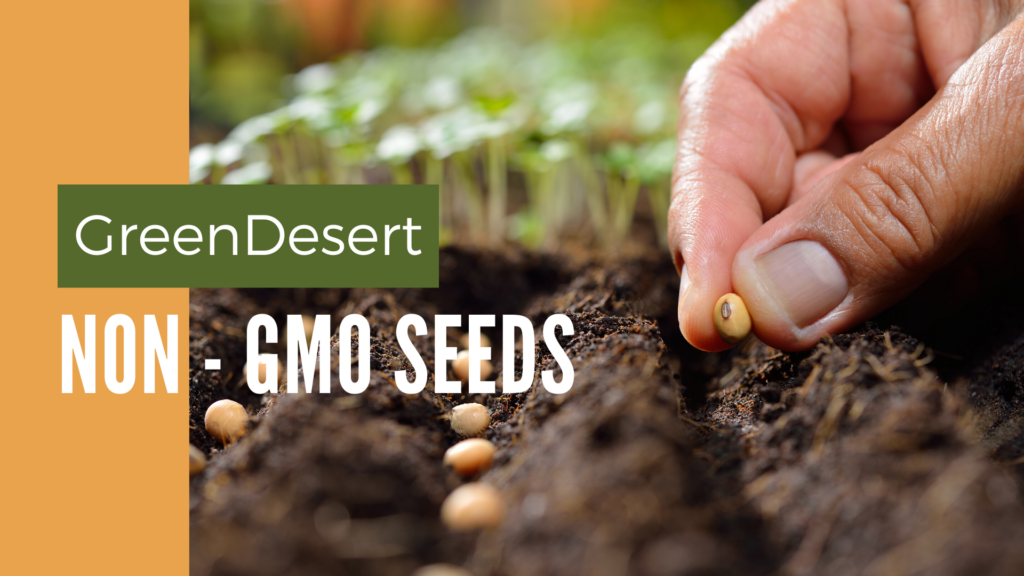
6. Lastly, number six, we collect our own seeds. Reoccurring seed costs are a significant farm expense, but collecting your seeds helps nullify this cost. You also know precisely where your seeds come from.
Conlusion:
At this point, our garden is now producing enough biomass that we no longer have to buy soil or fertilizer.
We also don’t have to grocery shop as much. We get a third of our food from our garden.
The savings from each step in our journey fuels the next step.
This process continues to be repeated and be refined, and with that, our savings grow, and our lifestyle continues to ease, even in an inflated environment.
Over time, you will notice your trash bin shrinking. When you see this happening, you’ll be saving money and the environment. Once you buy the material, it becomes yours, and recycling your waste is like getting compound interest on your money. Some of the materials we put in our garden years ago still give back today.
Don’t be discouraged; we started this process with one plant. So, just one small step at a time is all you need. Check our our website for more infor graphics on the process.
Also Please check out our off-grid series to learn more about living a more self-sufficient, self-sustainable lifestyle. In this series, we show the building of a rainwater harvesting system, greywater system, and compost bin, and much more all in one working system off-grid.
I hope you enjoyed this video! If you did, please give it a thumbs up, like and share it with those you think it will help, and subscribe for more tips on self-sufficient living. If you have any questions, or ideas we can all benefit prom please leave them in the comments below. Until the next time my friends, Eat Green Get Sun & Stay grounded.
Be sure to check out our page on natural remedies and add some of those natural ingredients to your recipe.