Garden

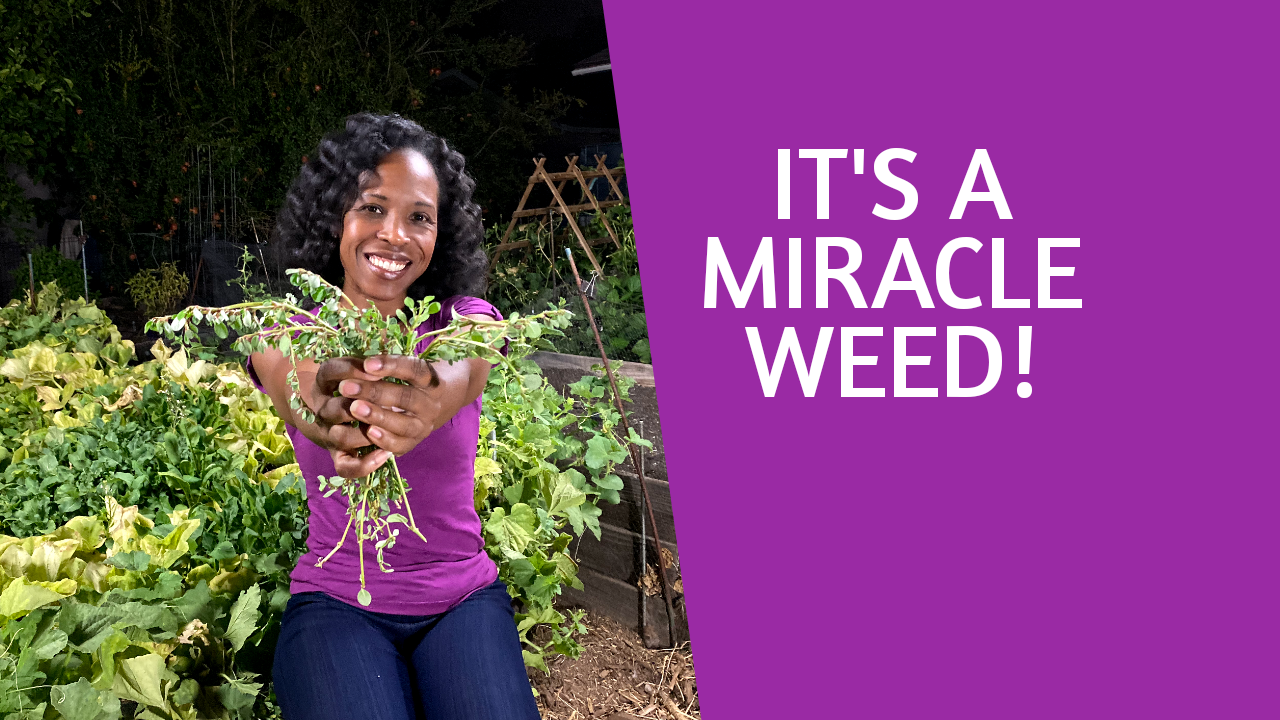
IT’S A MIRACLE WEED

You could have a miracle weed right under your feet. Purslane truly is a weed, but with its added benefits, you’ll be hooked to add this to your next recipe.

Purslane is a green, leafy vegetable that grows in many of our yards.  You can eat it raw or cooked.

“It’s a miracle plant,” said Dr. Artemis Simopoulos, president of the Center for Genetics, Nutrition, and Health in Washington, who discovered while working at the National Institutes of Health that the plant had the highest level of Omega-3 fatty acids of any other green plant.

Purslane contains about 93 percent water, filled with red stems and small, green leaves.

The benefits are endless…

  • Omega 3’s
  • Vitamins A, B, C, E
  • Beta Carotene
  • Calcium, Iron, Potassium

A little history… Purslane grows in many parts of the world, in very different settings. “Common purslane, Portulaca oleracea, is a highly variable, weedy plant in the purslane family (Portulacaceae) with a wide distribution. Although it is likely native to North Africa, the Middle East, and the Indian subcontinent, it had reached North America by pre-Columbian times and was in Europe by the late 16th century” (University of Wisconsin-Madison.)

Fun fact… Purslane has 16 calories, and you can incorporate it into your next meal.

Simple Meals:

  • Purslane Salad
  • Purslane Chimichurri
  • Steamed Purslane

And my favorite… Purslane Pasta.

The recipe is below. There’s also a video showing you step-by-step. I like to use black rice noodles for the taste and superfood benefits!.

 PURSLANE PASTA WITH BLACK RICE NOODLES

This is one of the simplest recipes I own… and one of my favorites.

 Ingredients:

  • 1 tablespoon oil
  • 1/8 cup garlic
  • ¼ cup onions
  • ¼ cup tomatoes
  • ¼ cup corn
  • Salt and pepper
  • 1 cup purslane
  • Feta Cheese (optional)

How to Make It:

Add oil to the skillet. I like avocado oil, but use your favorite.  Add your garlic and stir for about a minute.  Add your onions, and again let it cook for about a minute.  Add your tomatoes and stir for about 30 seconds before adding your corn.  Let everything cook for about a minute.  Sprinkle salt and pepper, and then stir in your purslane.  In about a minute, you’re done!  Plate it, sprinkle feta cheese and dinner is served!


DIY

DIY: Get Rid of Carpet Odors

If you’re going to be home all day… you want to make sure the house smells amazing!

Think about it… if you have carpet all sorts of odors are lingering… even when you vacuum.

So here’s a simple recipe with just two ingredients to leave your carpets so fresh and so clean.

All you need is baking soda and your favorite essential oil and you have a toxic-free carpet freshener.

The great thing about baking soda is that instead of masking odors… it interacts with odor particles and neutralizes them.

As for the essential oil, choose what smells best to you.

I like peppermint oil because it smells fresh and naturally wards off certain pests… including ants.

So here’s the breakdown…

I use about a half teaspoon of essential oil and 2 cups of baking soda.

I save my seasoning containers because the holes in the top are perfect.

I give the mix a good shake, let it sit for 24 hours to settle and you’re ready to clean.

I usually sprinkle the mix on the carpet, and then I dust so the mix has a chance to simmer. Next vacuum it up.  That’s it!

And just like that… no more stinky odors lingering around in your carpet.

I also use baking soda to keep the kitchen sink clean and fresh. I run hot water down the drain, then pour about a half cup of baking soda, let it sit for about 10 minutes and rinse it down.

To scrub the bathtubs, I sprinkle baking soda on a damp scrubbing sponge and just scrub.

And I sprinkle it into my boys’ stinky shoes and at the bottom of the trash bin.

Plus, it’s great for baking and occasionally I sprinkle it on my toothbrush to keep my teeth white.

These are just some ways I use baking soda but there are hundreds of other benefits.

How do you use it? Share your ideas and recipes!

DIY

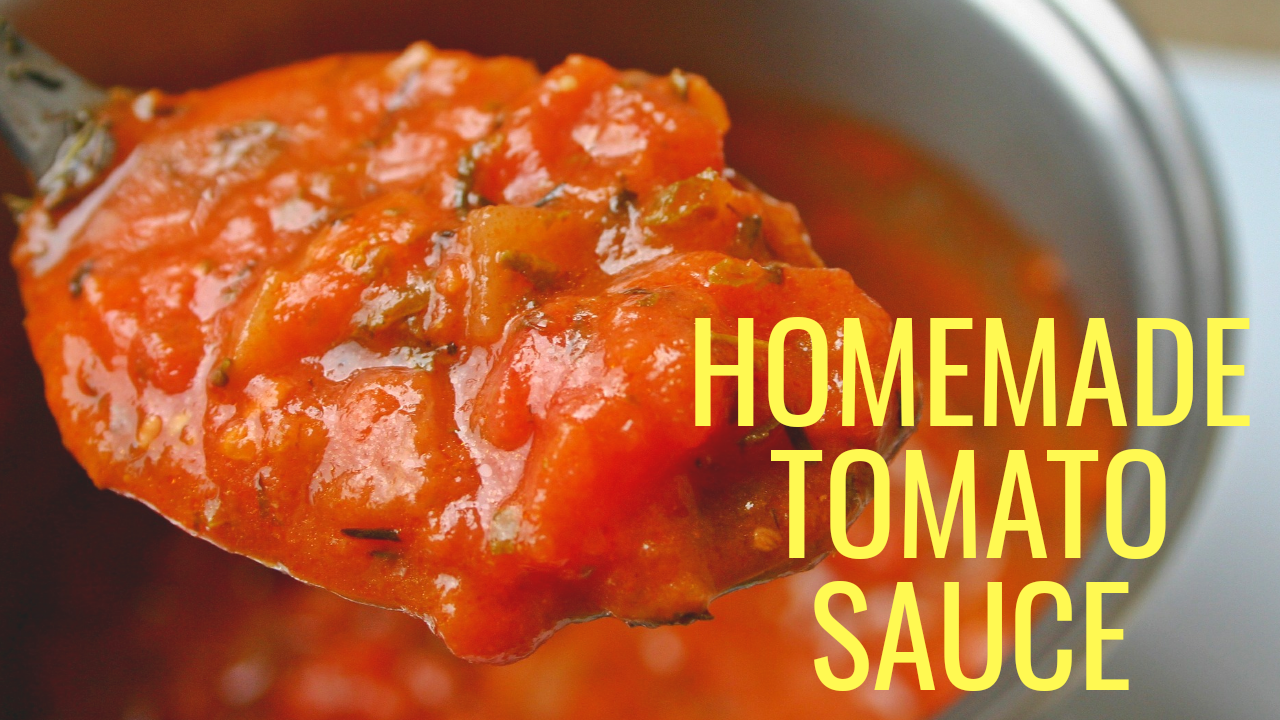
How to make DIY tomato Sauce

One of the things that make gardening so fulfilling is seeing things grow from seed to amazing meals.  The more I grow and see others grow, the more inspired I am to try new things.  And now I have the time to find more ways to leave less of a carbon footprint.

But don’t be fooled… having more time doesn’t mean I want to take more time on individual projects.  I like things simple… which is why it had taken me so long to make my own tomatoes. I had to figure out if it was worth the work and once I did it… the answer was simple

We had an awesome tomato harvest this year, I was picking baskets full daily.  So I thought it was time to take on the experience of making my own tomato sauce and I’ll be honest, I really don’t want to buy pasta sauce from the store anymore because this was too yummy and too simple.

So if you don’t have tomatoes in the garden… no worries, you can still buy tomatoes and make your sauce.  Trust me, you won’t regret it… especially since I have a recipe that uses ingredients most of have at home and it omits the work of taking the skin off of your tomatoes.  The ingredients and steps are below.  I also have a video showing the step-by-step process.

Ingredients:

  • 2 tbsp olive oil
  • 1 large onion chopped
  • 2 cloves garlic diced or crushed
  • 12-14 tomatoes halved
  • 2 tsp balsamic vinegar
  • 1 cup basil leaves
  • Salt and pepper to taste
  • ¼ cup lemon juice for flavor and canning (optional)

How to Make It:

  • Add the tomatoes and balsamic vinegar to a pot and bring it to a boil
  • Reduce the heat and let it simmer for 30 min – 1 hour  (Slowly simmering the sauce brings out the deep flavors, so you’ll need less seasonings)
  • Add basil when it’s almost done
  • Optional – Add lemon juice for flavoring and canning

Don’t be afraid to play with the recipe to fit your meal.  Adding celery and carrots to the sauté mix is yummy.

I’ll admit, I like it best fresh from the pot to the plate.  I honestly could have eaten it alone… actually I did have a few spoonfuls because it was so delicious.

I also tried it over noodles with other vegetables and absolutely loved it.

I tried it in spinach lasagna and thought the vinegar was a little strong for it.

Please let me know if you try the recipe.  Take pictures and let me know if you made alterations that made it even more amazing!

Health

Black Rice

Benefits of Black Rice

What really makes black rice a nutritional powerhouse?

Anything called “forbidden” automatically peaks my curiosity.  So of course when I first heard about black rice, I was intrigued!  And after learning about all of its benefits, I eventually became obsessed.  So of course I have to share with you what I found and one of my favorite recipes!

I’ll start with a quick history of why black rice is known as “forbidden rice.”

The story is that in ancient China, black rice was reserved for royalty and wealthy because it was believed to be the healthiest of all rice varieties, meaning it would ensure longevity.

So common people were not only forbidden to consume it, they were also forbidden to grow it.  Sound familiar?

Well it’s not forbidden anymore, so why not reap the benefits!  And there are so many, including being a good source of iron, fiber and protein.  But the main thing that makes it a superfood is a pigment also responsible for its black-purple color – Anthocyanin.  It’s one of the most powerful types of antioxidants and has also been found to have potent anti-inflammatory and anticancer effects.  In fact, I learned that when it comes to antioxidants, black rice is 30 times more effective than white rice.

So why is it so nutrient rich compared to other types of rice? Basically it’s sold as a whole grain.  That means black rice isn’t stripped of its nutrients during the milling process.

I haven’t found any reasons not to eat the nutritional powerhouse, other than it is a little more expensive than traditional brown and white rice.  I pay $3-$4 per pound for organic black rice, compared to about $2 for organic brown rice. Please let me know if you find a better cost for the same quality of course.

For me, it’s worth the extra cost to give my body the royal treatment.  Plus, I love the nutty flavor.

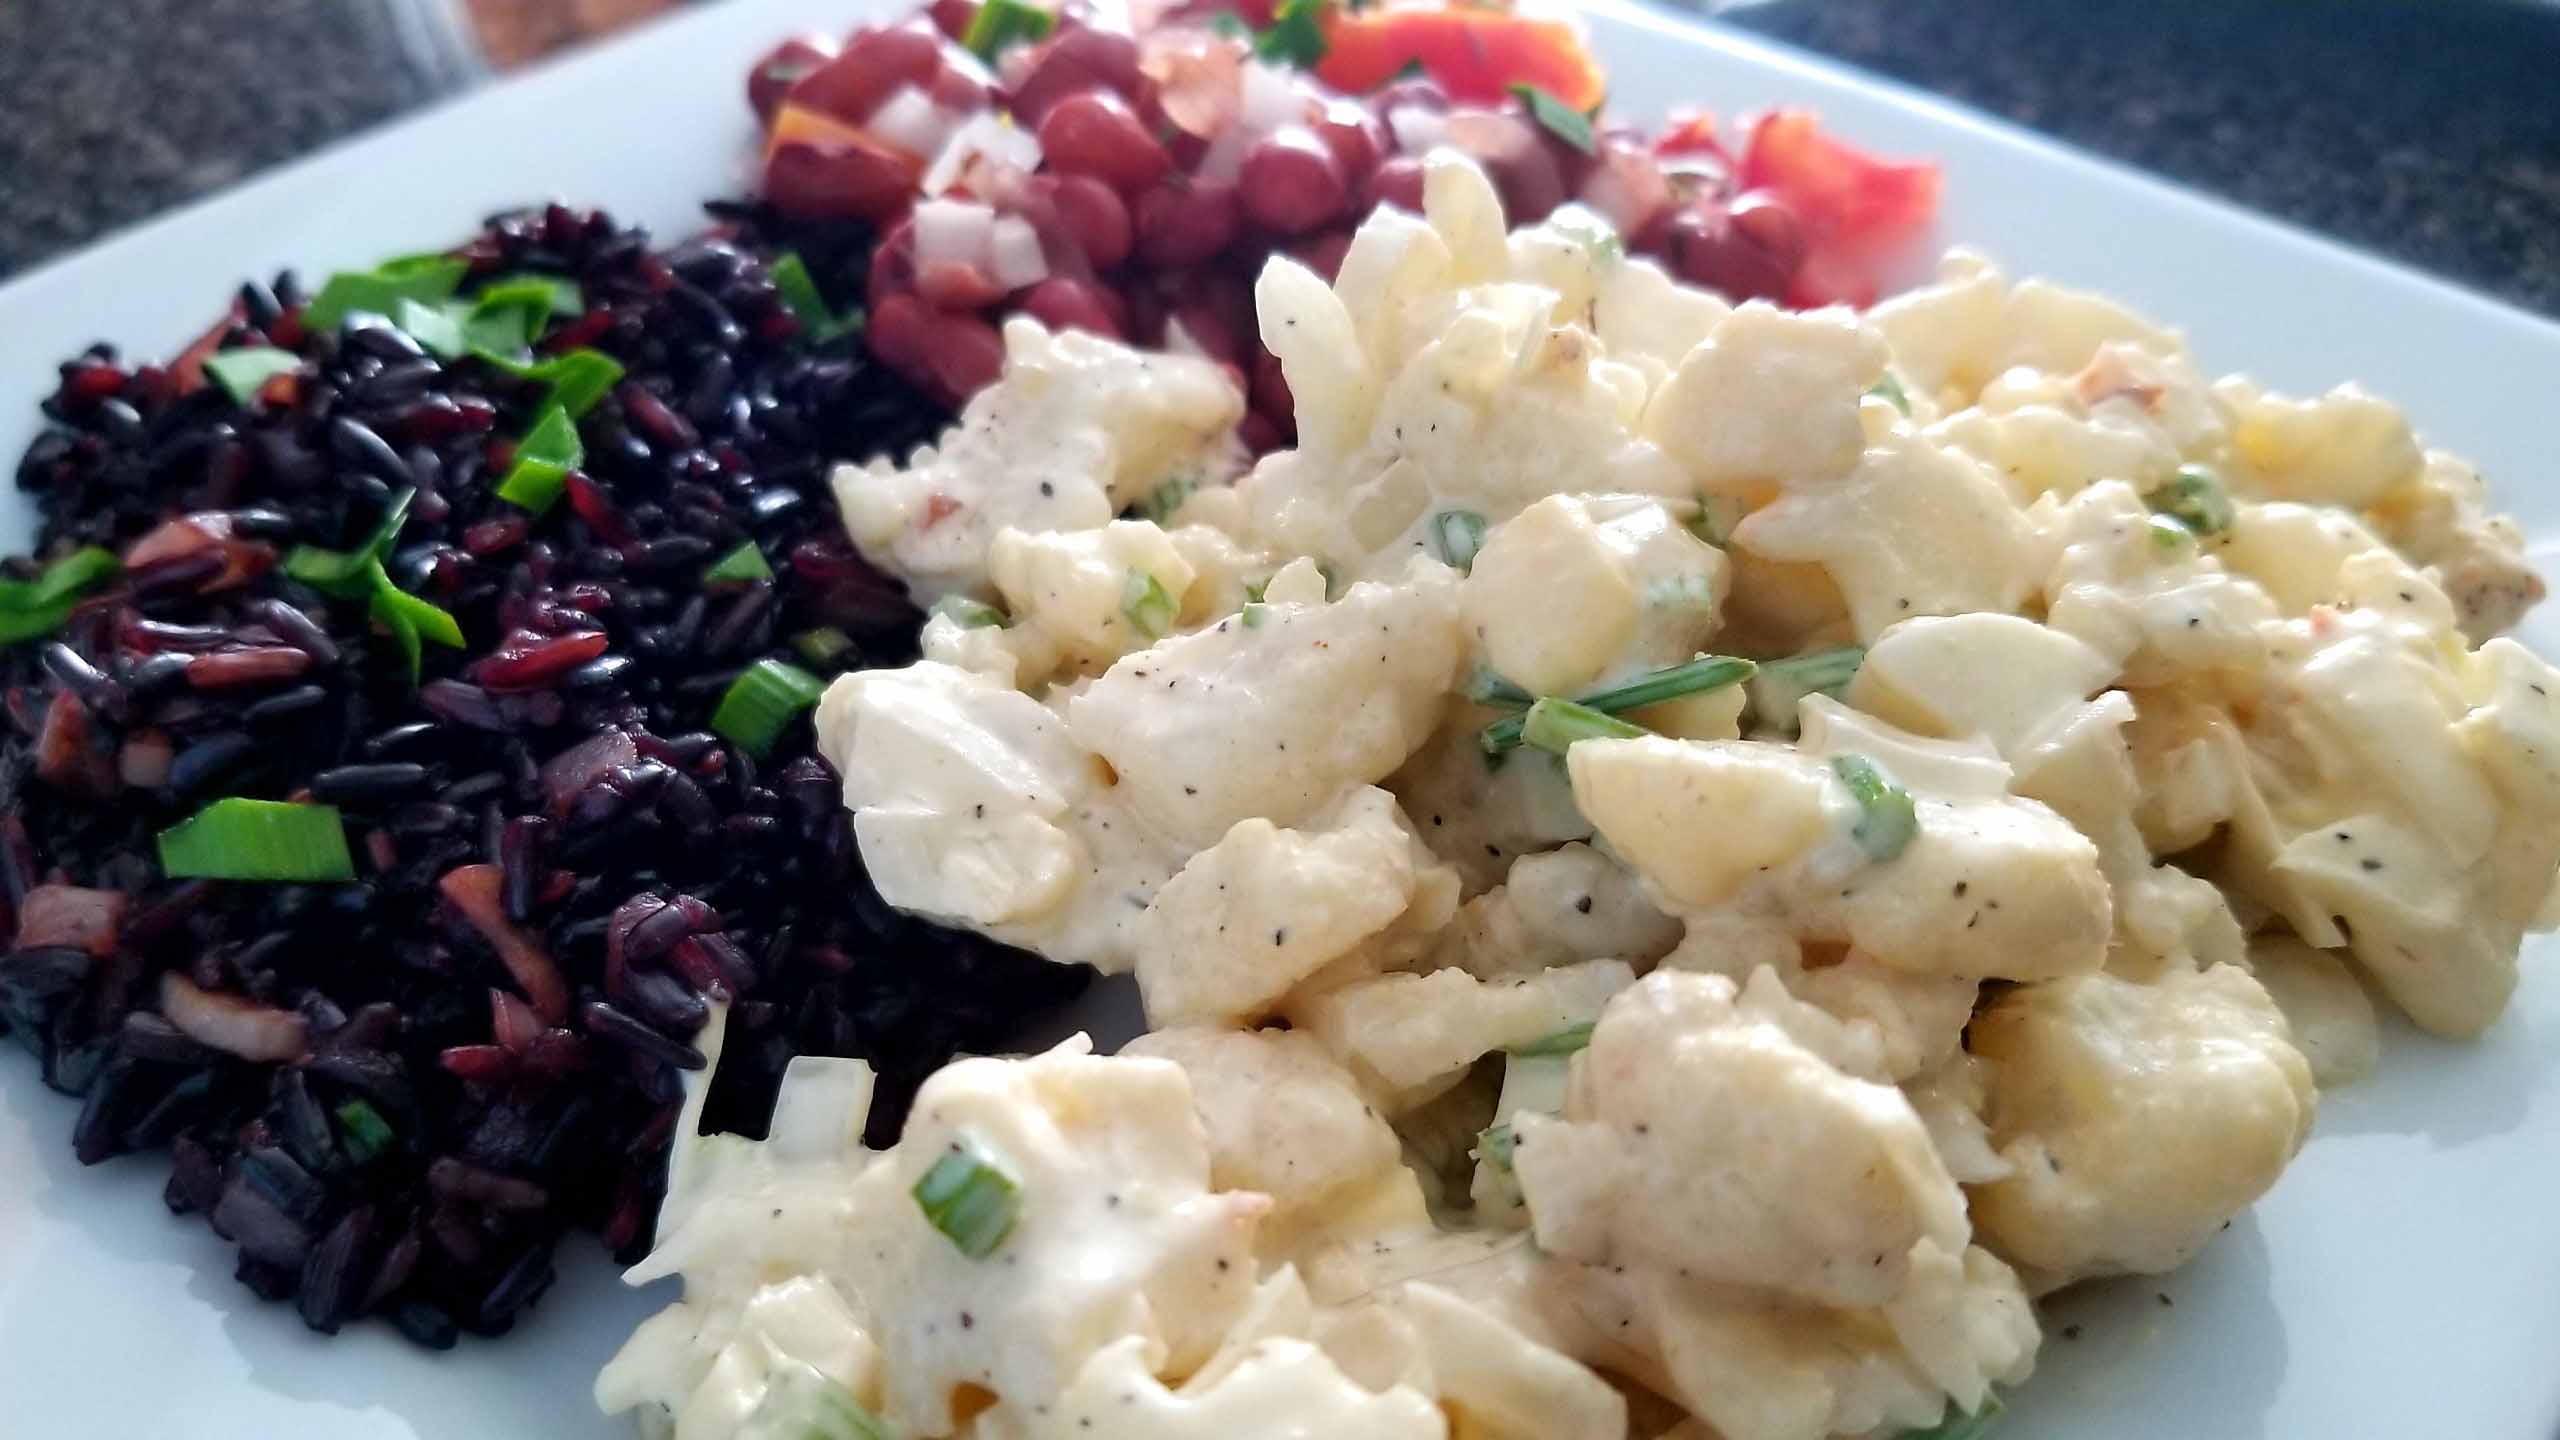
Below is a yummy recipe for the Fried Black Rice that you see in the photo. 

What you’ll need:

* 1 cup black rice

* 2.5 cups veggie broth or water

* 1 tablespoon olive or avocado oil

* 1 medium onion (finely chopped)

* 1 clove of garlic (finely chopped)

* 1 carrot (finely chopped)

* 1 lemon for juicing (1/3 cup)

* ¼ cup Tamari or soy sauce

* 1 teaspoon salt

* ½ teaspoon pepper

* 2 tablespoons chopped fresh basil

* 4 tablespoons chopped fresh cilantro

* 2 tablespoons green onions


How to Make It

  1. In a saucepan, add black rice and cover with broth or water. Bring it to a boil, then cover and cook for about 35 minutes. (When I make it in my Instant Pot or Pressure Cooker, I use 2 cups of black rice to 3 cups of water for 18 minutes.  You can also make it in a solar oven)
  2. In the meantime, add oil to large skillet or wok and stir-fry your veggies (onion, garlic, carrot)
  3. Stir in the black rice and Tamari or soy sauce and season with salt and pepper
  4. Add fresh basil, cilantro and green onions
  5. Serve


Remember, our goal is self sufficiency so keep it simple.  Use what you already have at home if possible to create your nutritional masterpiece.  You can add tofu or meat for protein.  Get creative and share your photos and recipes!


Garden

Ollas

Never over or under water again

Do you feel like no matter what you try… your plants keep dying? In many cases, the problem is water. So how do you know if you’re under or over watering your garden?

My solution – ollas.  They take the guesswork out of when and how much to water your plants.

Olla gardening is an ancient method of drip irrigation.

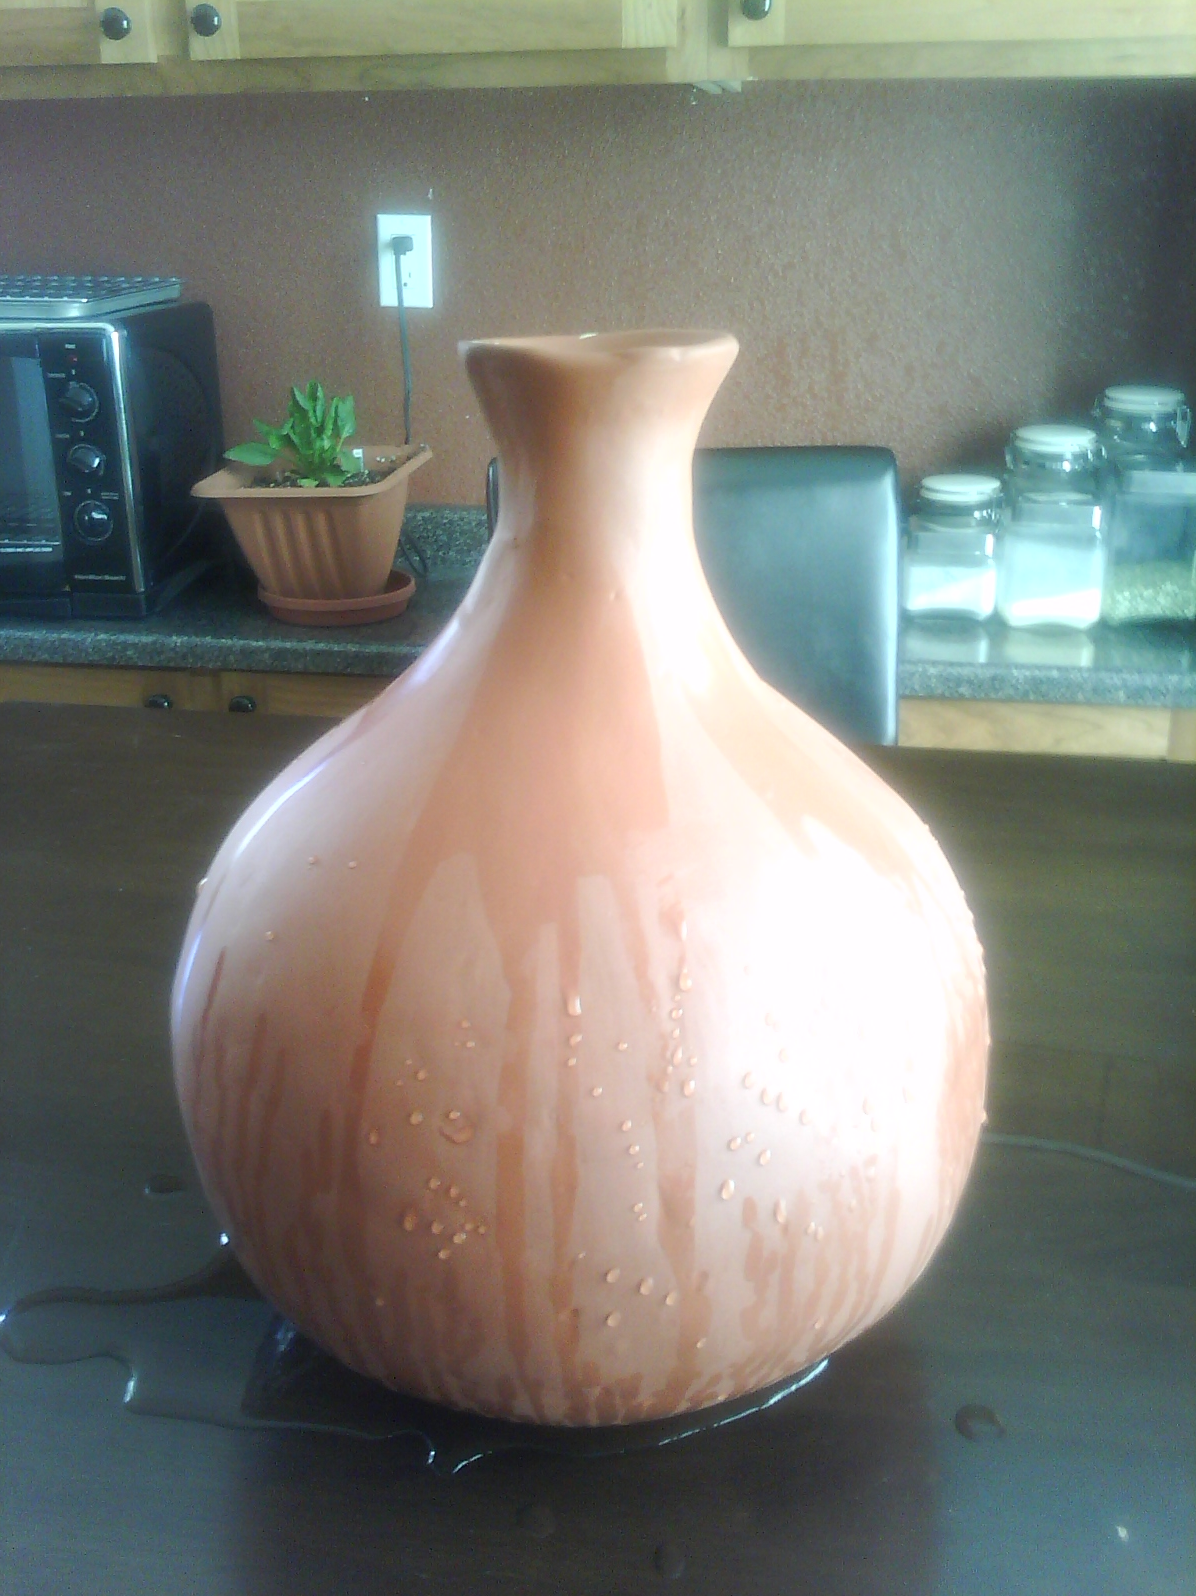
Ollas are unglazed clay pots designed to keep your plants hydrated, to conserve water, and basically keep your garden growing successfully. They give your plants the freedom they need to survive because the plants take exactly how much they need.

So how do they work? Basically terra cotta is porous…so once you fill the ollas with water, the water slowly seeps out of the walls of the pot, directly irrigating the roots around the pots.

The ollas have saved us time, money and they help leave less of a carbon footprint on our environment..

According to the United Nations, water is the “primary medium through which we will feel the effects of climate change” and water scarcity alone affects nearly half the global population.

That’s a huge concern… so every little bit counts.

We bought our ollas online, but I’ve also seen them at nurseries.

You can also daisy chain your ollas together to save you even more time.  We have a rainwater system hooked up to our ollas – I know we only get about 9 inches of annual rain in Phoenix… but again every little bit counts.  The rainwater we catch can waters our garden in the winter with no problems.

Health

Disease prevention

LIFE HACK: Preventing disease

So let’s talk about ways to put your immune system on beast mode. They are forgotten jewels that many of us have taken for granted.  I know I did. But…If you implement these… it’ll make it easier to offset disease and illness. So let’s get into it…..

One of the biggest weapons for health is the sun.  The vitamin d… created by the exposure to the sun… not only helps with things like healthy bones… optimal heart function and  cell growth… but did you know that humans can actually photosynthesize the sun’s energy?

We can photosynthesize the energy directly OR by having enough chlorophyll in our blood when we’re exposed to the sun.

The chlorophyll molecule continues to absorb the sun’s energy and transfers that energy into you.

 So it’s critical that we get the sun… especially since there are so many diseases associated with low vitamin d… like diabetes… high blood pressure… multiple sclerosis… asthma in children… cancer… the list goes on.

But the key to getting the biggest benefit is your diet and hydrations have to be on point. So eat green first then get some sun for a free energy and an extra immune boost.

The next benefit is grounding.  Do you remember  how good it felt as a child to run around outside barefoot?  Well there was a reason!

Grounding or earthling is the process of reconnecting to the Earth’s subtle, natural, electrical energy. The grounding points on the body are the palm of your hands and bottoms of your feet.  So grounding happens whenever you touch or walk barefoot on grass, sand, dirt, or on concrete.

Throughout the day we may pick up charge, or extra electrons from our phones, wifi, microwaves, stoves, computers, driving in our cars, carpet, other electrical devices, you name it. 

This extra charge is noise as far as the body is concerned. When touching the Earth, a path is created for this extra charge to flow out of the body or into the body…whichever is necessary… in order to bring the body back to its most natural balanced electrical state.  This removing or pairing of electrons helps rid the body of free radicals. This is where our immune system is most efficient. It’s the natural energetic state that humans experienced throughout history when we lived in direct contact with the Earth.

As time went on we started to wear shoes and became disconnected and lost this lil added benefit.  Some of us may go days, weeks even months without ever touching the earth… which means we’re carrying around these charges and free radicals inside of us.

Here is a picture of blood while grounding. You can see the blood is in motion when naturally exposed to a ground.  This reduced blood viscosity makes it easier for the blood to deliver oxygen and nutrients to your cells.   

The journal of Alternative and Complementary Medicine says “Grounding appears to be one of the simplest and yet most profound interventions for helping reduce cardiovascular risk and cardiovascular events”

The benefits don’t just stop there folks…     

Some to the benefits included but are not limited to:

Improved sleep, reduced pain & inflammation, more antioxidants, accelerated healing of injuries, less clumping of red blood cells, and reduced blood viscosity.

Keep in mind… walking barefoot indoors… on surfaces like your carpet, wood, or tile… is not grounding… because those surfaces are insulated from the earth.

THE easiest way to ground is to touch the earth.  You can walk outside barefoot.  Trees are grounded, so you can touch a tree.  And if you want to take it to another level, garden barefoot.   So reclaim the full potential of your immune system. 

Eat green, get sun and stay grounded

Like this video, share, and click the bell for more self sufficient tips like this.

Household

Turmeric stains

Three Ways to get rid of Turmeric Stains

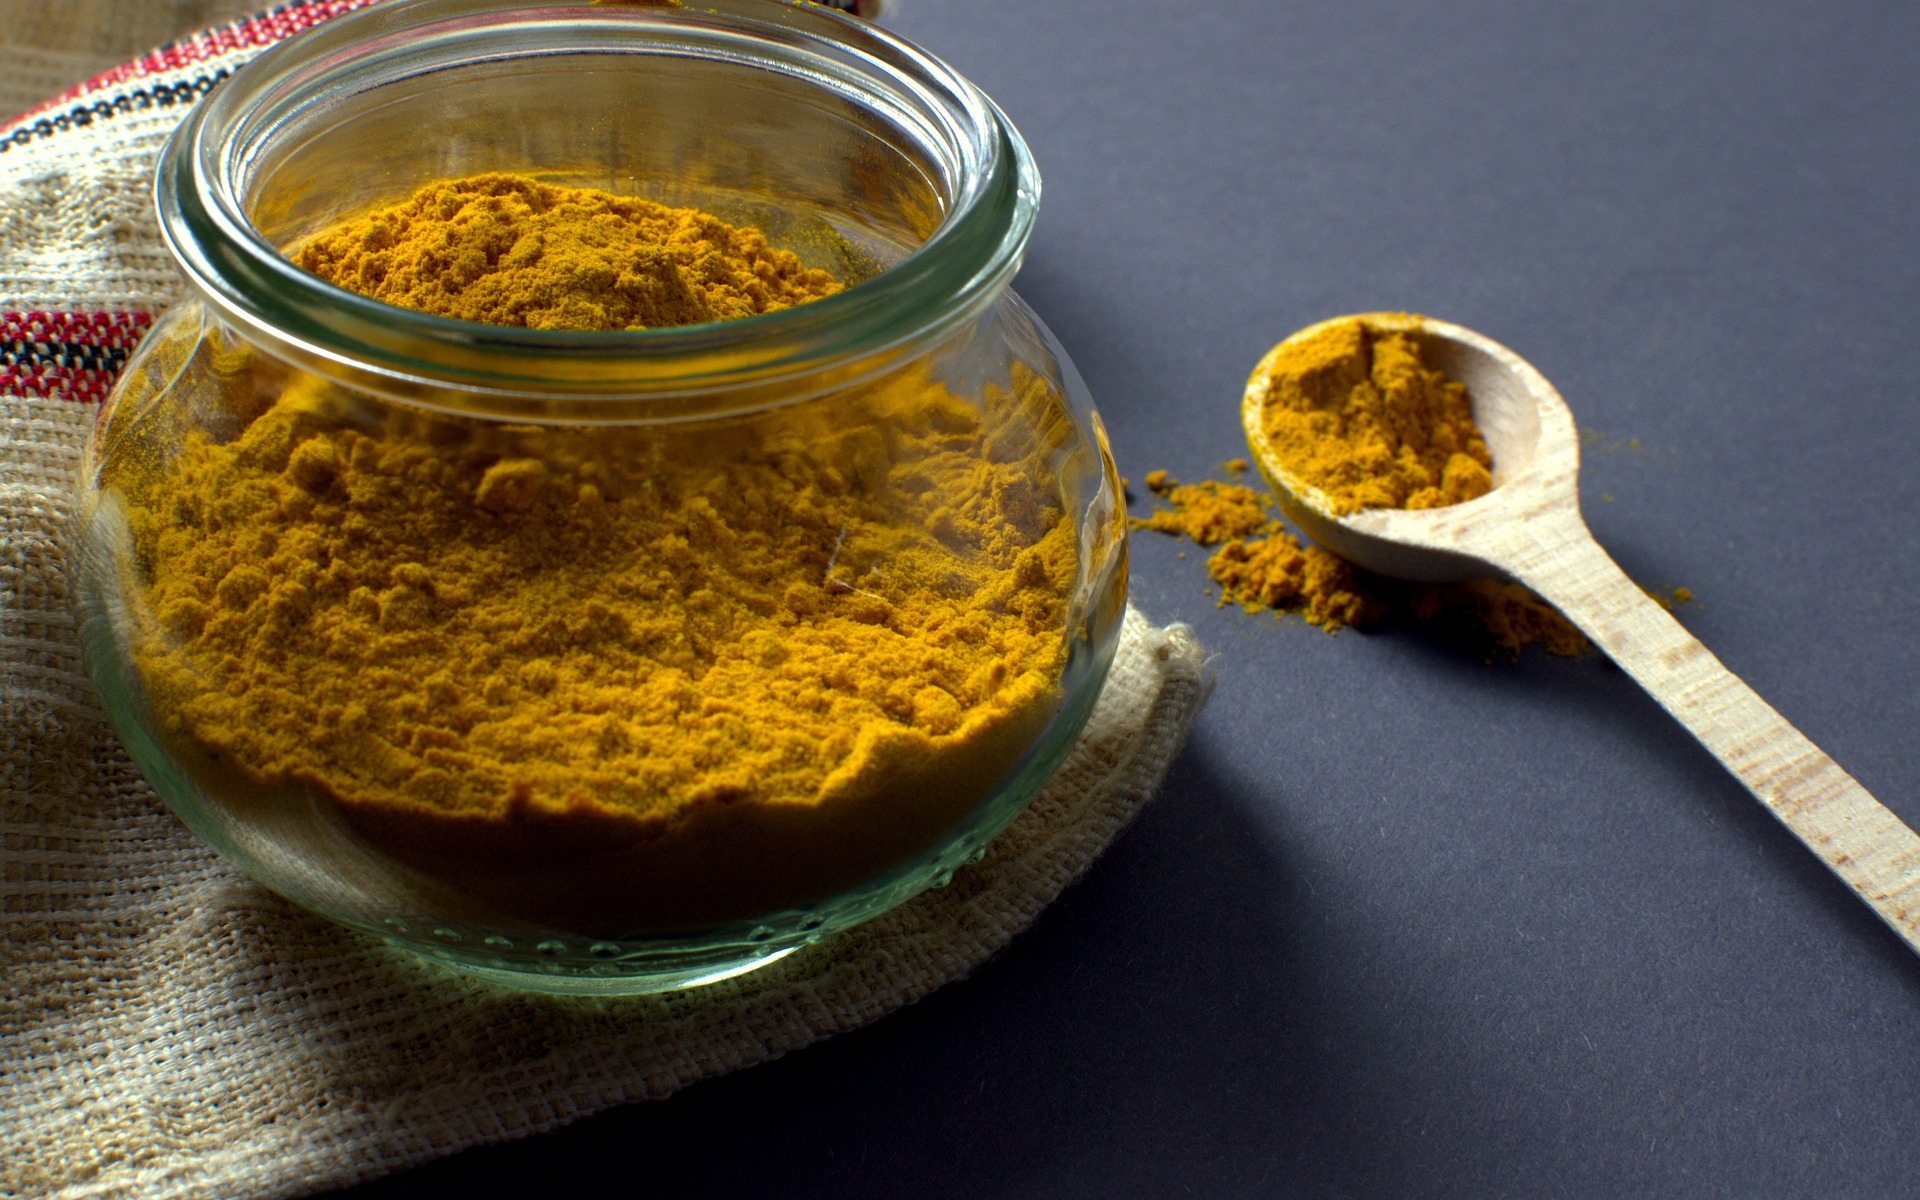
Talking about the health benefits and advantages of turmeric could take up a blog post of its own, with scientific studies showing that the potent anti-inflammatory has the potential to help prevent against Alzheimer’s, heart disease, and even cancer. But today we will be focusing on one of the side effects of turmeric, specifically the stains it can leave behind on your skin from handling it. These three tips should help remove these stains from skin and nails while staying as natural as possible of course.  I tried them all!!!

The first method uses just sugar and water, both ingredients that can be commonly found in any household kitchen. Start by filling a dish or bowl with water and then adding equal parts amount of sugar. The amount you use should depend on the size of the stains you are trying to remove. Once these have been combined then simply stir them together to create a paste. After the paste holds some consistency, simply apply it to the surface of the stain and rub gently. Rinse with water and check your results.

The next method is somewhat similar to the first. The ingredients needed are lemon juice and baking soda. Like with the sugar and water, make sure that the lemon juice and baking soda are equal parts, starting at one tbsp and going up depending on the size of the job. Once mixed the baking soda should start to bubble. Then apply and rub into the stained area for about two or three minutes.

Last but not least, our third solution for getting rid of turmeric stains consists of vinegar, dish soap, and water. Combine all three ingredients while trying to keep them equal parts as well. Once created, simply submerge the stain in the mixture for a few minutes or until you start to see results.

Hopefully these methods are helpful in making sure that the benefits of turmeric aren’t weighed down by the mess that using the super substance can come with. If you have another way of getting rid of these stains, be sure to comment on this post.