Garden Health Household

Chaparral

Any plant that is over 10,000 years old and thrives in the sunniest places on earth has bound to have medicinal capabilities.  Introducing Larrea tridentata often called  Chaparral, Creosote bush, or Greasewood. The plant exhibits a smell of rain from the oil in its leaves.  This amazing bush thrives in desert regions including, the southwest, South America and northern Mexico.

The antioxidant properties of the bush help reduce free radical damage in the body aiding in diseases prevention. The Creosote bush contains nordihydroguaiaretic acid (NDGA), which is an antioxidant.  It has been known to block certain enzymes for tumor growth.  

According to cancer.gov, research has shown that NDGA treats several types of cancer including breast, esophageal, prostate, lung, and skin cancer. NDGA has also been recommended for treatment of Alzheimer’s disease, ALS, Parkinson’s disease, Epilepsy and Stroke.  The high antioxidant properties of NDGA helps boost the immune system lowering inflammation and suppressing viruses such as Herpes simplex, HPV, HIV-1, and Influenza.  The bush also helps with circulation by causing the blood vessels to expand.

Another benefit… it’s one of the strongest antioxidants in nature, making it a direct killer of yeast cells when its administered in high doses. The yeast-combative properties of chaparral are what makes it ideal for managing skin conditions caused by fungi.

How do you use it?

You’ll often see it sold as a tea, essential oil or a homeopathic remedy.

We live in Phoenix, Arizona … where the creosote bush thrives.  We see it often everywhere… especially on hikes, and in many yards.  So I like to clip a few branches or leaves and add it to my tea… but only occasionally.

If I have a skin issue, I use it as a balm.  Salves and balms can be made to treat skin aliments such as dandruff and psoriasis. 

Other aliments Cresote bush helps with:

  • Arthritis
  • Tuberculosis
  • Chicken pox
  • Common colds
  • Fungal infections
  • Stomach Cramps
  • Oxidative Stress
  • Cleanse the liver

If you’re considering using the medicinal properties, don’t go overboard.  NDGA may be toxic to the liver in high dosages, so this is not a daily tea.

Chaparral is not recommended for use in patients with poor kidney function due to a risk of toxicity.

Dosage ranges so it’s best to consult your doctor.

This plant is just too powerful to not use in the fight of disease, a must have in the medicine cabinet.

DIY Garden Health Household sustainability Sustainable

Start a garden

THINGS YOU NEED TO KNOW WHEN STARTING AN URBAN GARDEN


It’s planting season in Phoenix!  Do you know what to plant?  Where to plant?  How to plant?

There are so many questions when it comes to starting your urban garden – or as I like to call it – your medicine cabinet and grocery store.  And you will read all sorts of articles telling you dozens of things you need to do to be successful.  But it really doesn’t have to be that hard or expensive… especially if you know the basics.

So we came up with our top things you need to know when starting your urban garden:

  1. RESEARCH – This includes looking at a planting calendar to know what to plant in your area. And once you figure out what grows when, choose things you really will use.  Research images of what the plant will look like in your garden, how much space the plant needs, best temperatures for germination, etc.  Seed packets will give you the basics.  Don’t limit your research only to online searches.  Social media gardening groups are awesome and local nurseries can be extremely helpful.
  2. START SMALL – Doing too much gets discouraging and causes many of us to quit. Gardening doesn’t have to be hard.  4×4 is a perfect starting point for a garden and so easy to build a garden bed yourself.  Home improvement stores will cut your wood to your specified size and you can use blocks to simply place the wood slabs inside.  It’s a simple process, especially if you want to avoid cutting and drilling, etc.
  3. PREPARE YOUR BED – Grass and weeds can be one of your biggest enemies. We put cardboard at the bottom of our beds to help stop the grass.  We also have a lot of gophers in the area so we also put chicken wire at the bottom.  Fill your bed with soil… add compost…. Soil and water are the basics that will help your garden thrive or die.
  4. SAVE MONEY ON SEEDS—1st garden will be most expensive but should be the only time you have to spend money buying all of your seeds because you can save them each season.

There are lots of seed banks at libraries and other local places that may offer free seeds. 

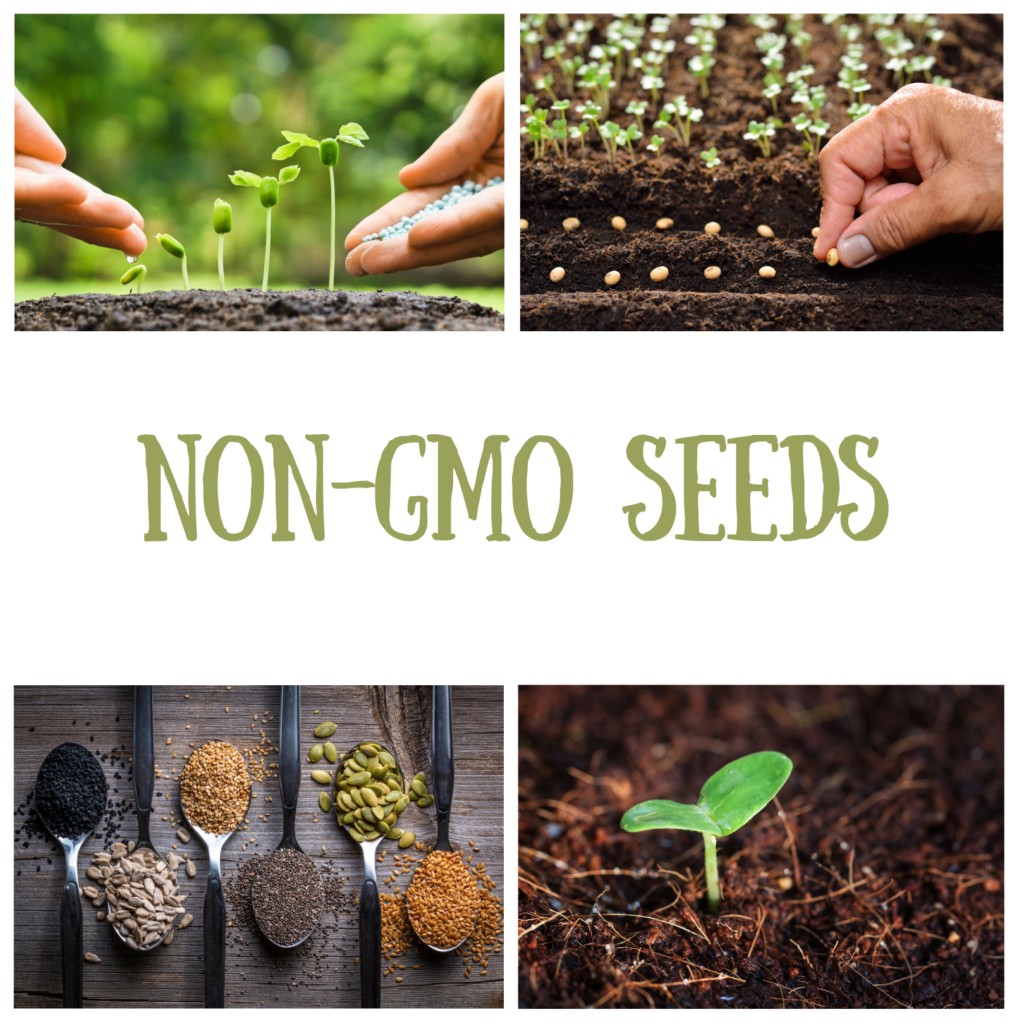
All seeds are NOT created equal, so look for GMO Free, heirloom, open-pollinated seeds so that you can continue to save the seeds each season. 

  1. GROW WHAT YOU’LL USE – Whether it’s food or medicine, if you’re watering it, you want to use it. If you won’t eat brussel sprouts, don’t plant brussel sprouts.  Can’t sleep?  Plant chamomile for tea.  Got a cut?  Plant aloe. You’d be surprised at how many natural remedies you’ll find in your garden (ADD NATURAL REMEDIES  LINK)
  2. CREATE MICROCLIMATES AND KEEP IT ORGANIC – Planting all of the same families in the same bed means they’re all competing for the same nutrients and attracting all of the same bugs. So mix things up.  That will also create a cooler environment and help keep your garden naturally organic , especially if you consider companion planting.  
  3. PUT WATER ON A TIMER—one of biggest things to kill gardens is water so you don’t want to have to constantly think about if you’re over or under watering. Set a timer for your water —- regardless of the type of sprinkling system you choose.

OLLAS are another option for watering… my favorite because it takes guesswork out of watering. 

  1. FEED YOUR GARDEN—we fertilize about every 2 weeks with homemade worm tea, compost mix, etc. Again, don’t freak out if you’re not composting, you can buy fertilizers when you’re first starting – ONE THING AT A TIME.  Again garden groups are great for where to buy what, where to find sales, tricks of the trade, etc.
  2. BE PATIENT, STAY POSTIVE AND ENJOY THE RIDE—Everything will NOT grow and some things will look great one day and be falling over the next. It’s about trial and error, learning your soil, your garden.  Trust me, the rewards make it all worth it.  The flavor of the food is richer, you know exactly what you’re getting, you’re saving money, lowering your carbon footprint, growing your own meds… the benefits just keep coming.
  3. TREAT YOUR GARDEN LIKE YOUR FAMILY – If you’re thirsty, you need water. So do your plants.

If you’re cold, you may need a blanket.  If you’re hot, you may want shade. Same with your plants. I talk to my plants, sing to them… not sure if that makes them happy.  The peace of being in the garden in priceless, so spend time in nature, learn your garden (family) and mother nature will do the rest.


We have all sorts of DIY videos helping you throughout your journey.   Don’t be afraid to reach out and ask questions because we are all in this together.  It’s a lifestyle that keeps on giving.

Health Household

Coconut oil

How coconut oil can be your new best moisturizer and more.

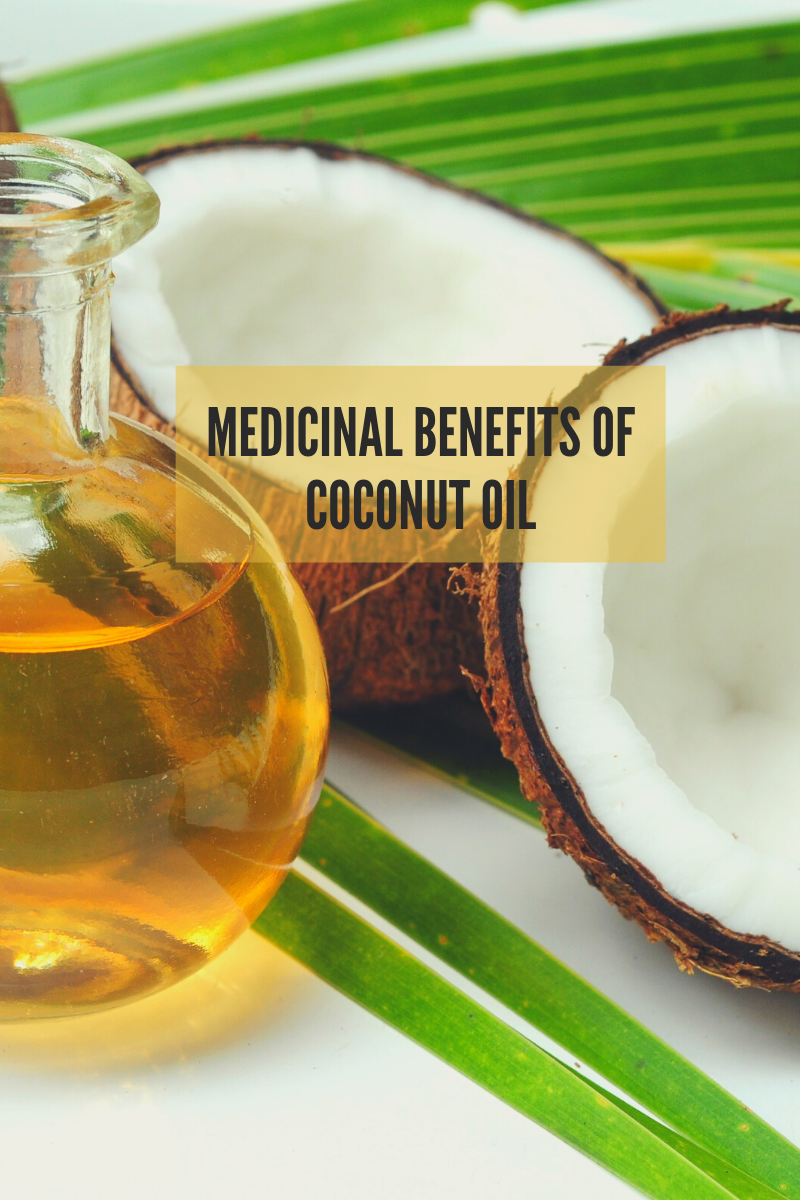
Coconut oil is the pinnacle of healthy fats. It’s meteoric rise in popularity is by no means a fad, and by all means for the better. One very popular use for coconut oil is in cooking, where it successfully adds good fat to your meal and makes food easier to clean off of dishes, but there are some valuable medicinal benefits to coconut oil that you might not know about, so here you go!

The primary benefit is as a moisturizer, and it’s a terrific one. Coconut oil soothes dry skin as well, if not better, than a lot of lotions. That makes it a great alternative treatment to common skin conditions such as eczema, psoriasis and dermatitis. The benefits don’t only come from the moisturizing properties from the fats either. The acids found in coconut oil actually have well documented abilities. 

Some of the primary fatty acids found in coconuts are powerful antibacterials. That means it doesn’t only heal and soothe dry skin but it fights the bacteria that can cause many rashes and other skin conditions. The antimicrobial benefits are also speculated to help treat acne, though more research is needed. 

Coconuts are probably something you can’t grow in the garden, but it is widely available and many brands offer organic and non GMO versions you can use all over your home. One little extra suggestion; you can use it to whiten your teeth. When you’re winding down at the end of the day, swish some coconut oil around in your mouth for about 20 minutes and your smile might brighten in a matter of days. Oh and I almost forgot, there are almost no known risks to consuming or topically applying coconut oil, so try it out at home and let us know if it works for you!

Garden Health Household

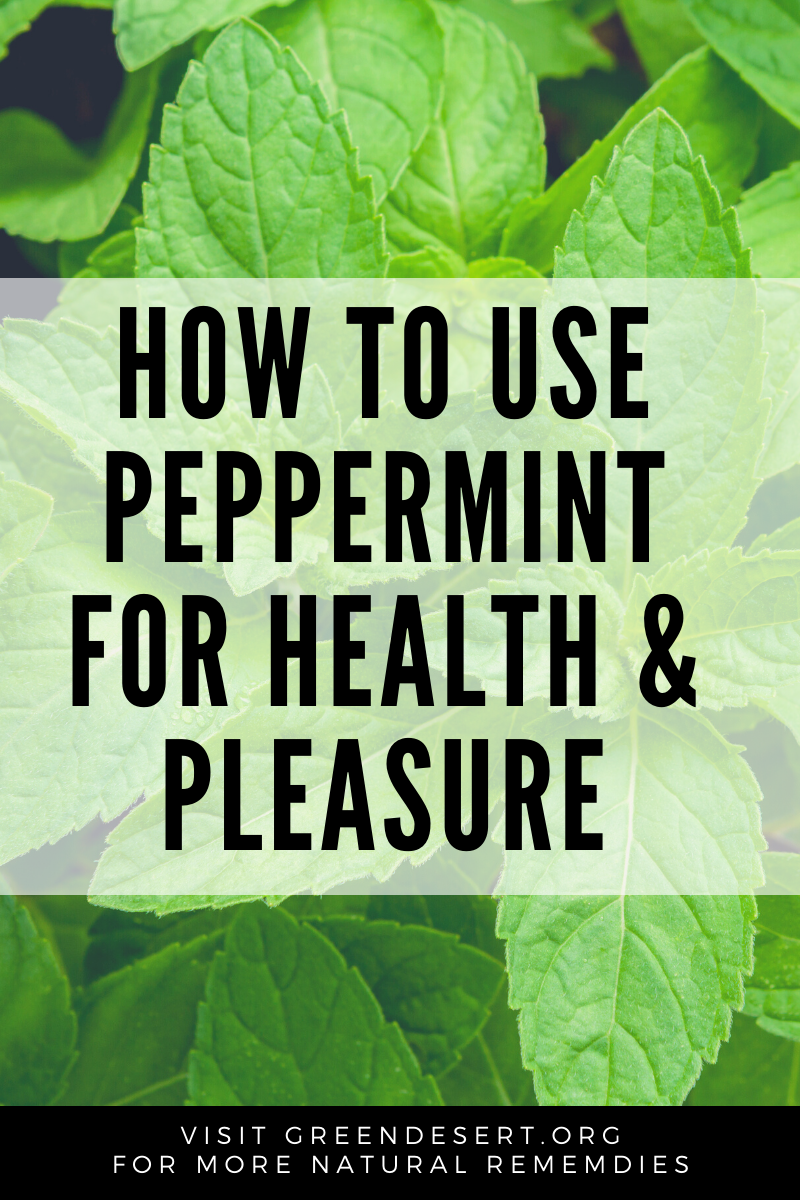
PEPPERMINT

How to use peppermint for health


Peppermint isn’t just a classic holiday flavor – there are so many benefits to peppermint that I was shocked to find out! Most of us see peppermint flavored snacks and treats everywhere – gum, candy canes, peppermint bark, peppermint mochas, and so many more mint items! But nothing beats fresh, authentic peppermint. Let’s break it down. 


Peppermint is in the mint family and is actually the result of a cross between watermint and spearmint. Peppermint is indigenous to the Middle East and Europe, but is now grown all over the world because of its popularity. It has even been used for thousands of years in homeopathic medicine as well as to garnish and flavor food. In fact, peppermint itself contains menthol and limonene, which are natural essential oils. (They are to thank for mint’s cooling and refreshing taste and scent!) Peppermint’s properties are what makes this little green, leafy perennial herb so powerful.


If you struggle with gas, bloating, indigestion, or frequent stomach aches, peppermint is for you! Studies conducted with animals have shown that peppermint extract can relax the muscles in the digestive system from contracting, which causes gastric pain and gas. Another study was done on humans with IBS (irritable bowel syndrome) who saw symptom relief from taking peppermint oil capsules more so than patients who received a placebo. In both of these cases, enteric-coated peppermint oil capsules were given to the patients because they allow the oil to pass through the stomach so it can later be dissolved in the intestines, where it really gets to work! Try to stay away from non-enteric tablets of peppermint oil, because some people have experienced heartburn and nausea after taking them, likely because the tablets dissolved in the stomach before reaching the intestines. While very little research has been done on tea, scientists say that peppermint tea should have similar effects on the body.


But that’s not all!


Feeling sick? Well, peppermint can help with that too. Having clogged sinuses and a sore throat are no fun, especially this time of year. Peppermint actually has antiviral and antibacterial properties that can help clear your sinuses and relieve inflammation due to infection. The menthol in warm peppermint tea will soothe your scratchy throat and ease coughing. So, drink some peppermint tea when you have a cold or flu for less throat irritation and clearer nasal passages. Plus, it’s caffeine free so you can get better rest!


HOW TO GROW IT

Now that you know the benefits of peppermint, you need to know how to grow it! Peppermint is an adaptable plant, but will grow best in a cool, moist climate. It is best suited with partial or full sunlight, but if it is above 85 degrees where your peppermint is growing, you will need to make sure to shade it for up to 2-3 hours. Peppermint also needs a lot of water to keep itself and the soil moist. Keep in mind, peppermint does have a tendency to spread and take over, which is great for me because I like to dry the leaves so I have it all year long for tea.  But if you want a little more control, it may be best to plant in a small pot or contained area. 

To grow peppermint from the seed, lightly press the seeds into moist soil (spaced 18-24 inches apart if growing multiple bundles). Typically, the seedlings will emerge within 7-20 days. Happy planting!


Let us know if you use peppermint & stay healthy!


Don’t forget, we have an entire page of natural remedies to treat all sort of ailments.


Household

Recycling 101

Sorry to be the bearer of bad news but…there’s a good chance you’re recycling wrong. But don’t worry, you’re not alone and that’s why we’re here to push you towards the right direction. 

The following are just a few things

you probably didn’t know about recycling: 

  1. Most coffee cups are not recyclable because they are lined with plastic. The best alternative is to go ahead and buy a reusable coffee mug to enjoy your cup of joe. 
  2. Used cardboard pizza boxes are also not recyclable because the amount of grease left on them prevents the paper fibers from being able to be separated from the oils during the recycling process.
  3. Plastic bags don’t go in your curbside recycling bin because they can get stuck in the conveyor built at the recycling center. Your safest bet is to take them to your local grocery store that has a plastic bag drop-off box and if you don’t know where you can find one you can visit PlasticFilmRecycling.com to help you find a location near you.
  4. A lot of cities and states have websites that list locations to recycle anything you can think of, all you need to do is a quick online search wherever you are. Here in Arizona we have azrecycles.gov that gives you a hand finding a place to go.
  5. Plastic forks, spoons and knives come in a variety of low-grade plastics that are impossible to identify and are too small so most places won’t take them.
  1. The Association of Postconsumer Plastic Recyclers says to crush plastic bottles because it can prevent bottle caps from shooting all over the place when the bottles are crushed at the recycling center.

Term to know: 

Wishful Recycling: Recycling items when you are unsure if they’re truly recyclable but hoping someone somewhere will figure that out for you. When non-recyclable materials are mixed in with your recycling, it can ruin the entire batch of recycling. So if you’re ever not sure if something can be recycled, give it a quick google before tossing it into a bin.

Household

8 ways to use tea tree oil

Why tea tree oil is a staple in my home

 It’s common these days to see tea tree oil in all sorts of products including sanitizers, shampoos, antiseptics and more!  But you really don’t have to spend cash buying these products because you can make your own.  You’d be amazed at all you can do with tea tree… the benefits are never-ending!

 Even the Aborigines used the tea tree leaves for medicinal purposes, like chewing on young leaves to relieve headaches. They would also crush the leaves to extract the oil and inhale it to treat coughs and colds.  It’s naturally anti-fungal, antibacterial, and antiseptic.  

Today tea tree oil is used in homemade cleansers and to treat several conditions including thrush, vaginal infections, acne, insect bites, cold sores, and minor burns.  Studies have also shown that it kills several common bacteria and viruses responsible for causing illness, like E. coli. Other studies, published in the National Library of Medicine (NIH), show adding tea tree oil to cleansers makes washing your hands even more effective, vital with our current pandemic. 

HAND SANITIZER

So why not make your own hand sanitizer?  The timing couldn’t be more perfect! This DIY recipe is moisturizing, disinfecting and it’s quick…only takes me about 10 minutes to make!

This is NOT a substitute for hand washing… that will always be the best option to avoid spreading disease.  But it’s a great alternative when you don’t have access to soap and water.  The best part, you don’t have to be concerned with the toxic chemicals used in commercial sanitizers.

This recipe makes four ounces o sanitizer.  I like to use dark bottles since the essential oils are best when you don’t expose them to light.

For my sanitizer, I take 10 drops of lavender essential oil, 35 drops of tea tree essential oil, and ¼ teaspoon of Vitamin E oil.  I mix it all in a bowl.  Then I mix in 6 tablespoons of rubbing alcohol.  Next I take about 1 ounce of aloe vera gel from my aloe vera plants and mix everything really well and you’re ready to use it.

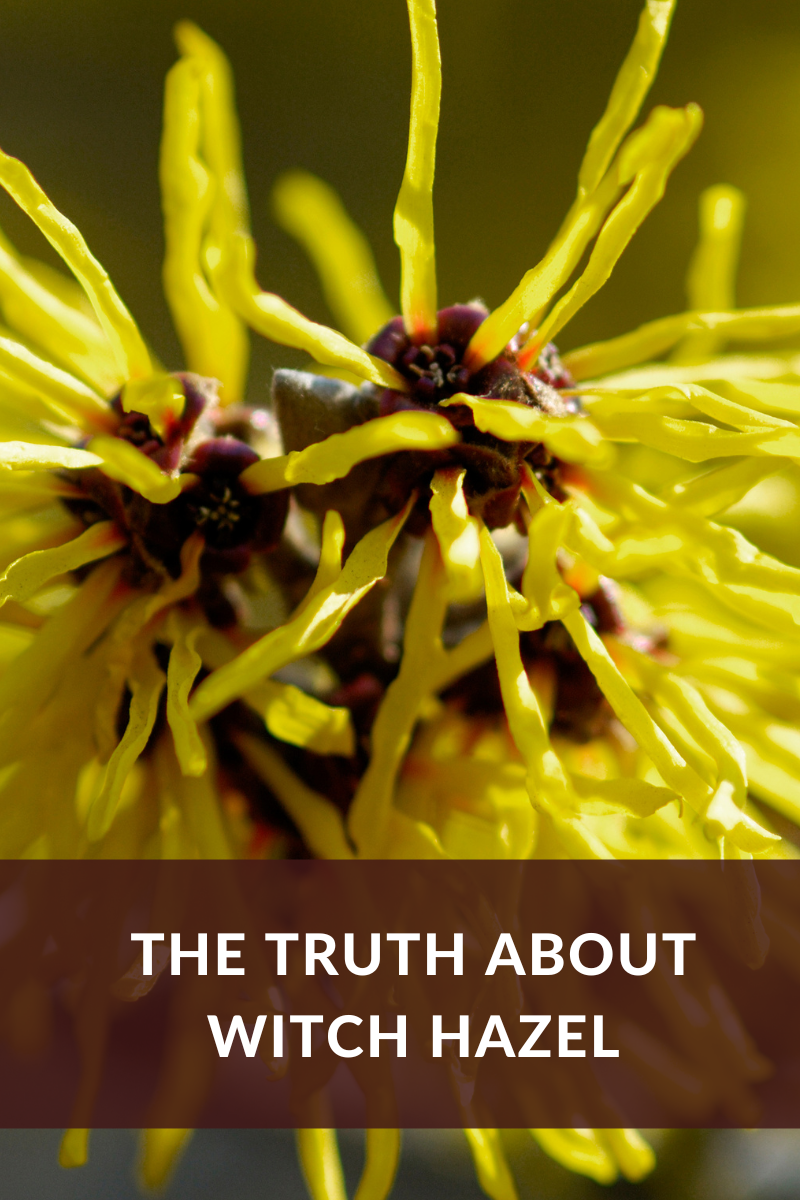
If you’d prefer a spray sanitizer over the gel, just substitute the aloe vera with witch hazel.

HOME DISINFECTANT

Other ways I use tea tree oil is to disinfect my home.

I mix one cup of water, ¼ cup vinegar, 10 drops of lavender oil and 10 drops of tea tree oil into a spray bottle.  Next I give it a good shake before every use and it’s ready to use.  When my kids were young, I used this recipe to clean their toys.  Now I use it to clean my house.

LINK TO VIDEO 

CARPET FRESHNER

I love the clean smell so I also add it, and other essential oils, to my homemade carpet freshener.

LINK TO VIDEO

DEODORIZER

And if something is stinky, I pour 1/8 cup of tea tree oil into a bowl and place it in the fridge overnight.  By morning, you’ll never know there was ever an odor in the fridge.

ACNE

It’s also great for acne!  If I feel or see a pimple coming, tea tree oil to the rescue!

I dilute the tea tree oil with a carrier oil… usually olive, avocado or coconut oil.  It speeds up healing… I’m a witness!

But be careful… I take 4 drops of tea tree oil to one teaspoon of my carrier oil to help prevent any skin irritation, including burning.

You don’t have to take my word for it… there’s research backing my experience.

In fact, some studies show tea tree oil to be as effective against acne as some common anti-acne medications.  So if you want to try this remedy, a common way to use it is to mix one part tea tree oil with 10 parts water.  Use a cotton ball to apply it on your affected area daily.

When I have a toothache or cut in my mouth, I mix tea tree oil with water and I gargle twice per day.  The ratio is 1 cup of water to 10 drops of tea tree oil.

It actually numbs my toothache.  But be careful not to swallow it because it can be toxic.

VAGINAL HEALTH

If you’ve ever felt a vaginal itch or just want to feel a little fresher, try tea tree oil.  It’s known to be a safe way to maintain vaginal health and is supposed to get rid of yeast infections.

This is another remedy I’ve tried.

For a yeast infection, you can make a homemade douche.  I add about 10 drops of tea tree oil to about two quarts of water to a douche bag and I’ve felt immediate relief.  You can also add tea tree oil to your bath.  I put about 15 drops to my bath water.  It’s refreshing even if you don’t have any vaginal issues.

FASTER HEALING

Another popular benefit is it aids in healing cuts and bruises faster.  How?  Apparently it increases white blood cell activity that is instrumental in the healing process and it reduces inflammation.

I simply dab a few drops of tea tree oil on a cotton ball and rub it on the affected area.  Try it, you will be amazed by the results.

DANDRUFF

Got dandruff?  There’s a reason you see tea tree oil in many dandruff shampoos.  It’s supposed to help improve dandruff and itchiness.

So rather than spending a bunch on new dandruff shampoo, try adding a few drops of tea tree oil to a small amount of shampoo, size of a nickel.  Then wash away!!

There are so many other benefits to using tea tree oil.  I’d love to hear how you use it or if you try any of our recipes!  Email us at [email protected].


Household

Turmeric stains

Three Ways to get rid of Turmeric Stains

Talking about the health benefits and advantages of turmeric could take up a blog post of its own, with scientific studies showing that the potent anti-inflammatory has the potential to help prevent against Alzheimer’s, heart disease, and even cancer. But today we will be focusing on one of the side effects of turmeric, specifically the stains it can leave behind on your skin from handling it. These three tips should help remove these stains from skin and nails while staying as natural as possible of course.  I tried them all!!!

The first method uses just sugar and water, both ingredients that can be commonly found in any household kitchen. Start by filling a dish or bowl with water and then adding equal parts amount of sugar. The amount you use should depend on the size of the stains you are trying to remove. Once these have been combined then simply stir them together to create a paste. After the paste holds some consistency, simply apply it to the surface of the stain and rub gently. Rinse with water and check your results.

The next method is somewhat similar to the first. The ingredients needed are lemon juice and baking soda. Like with the sugar and water, make sure that the lemon juice and baking soda are equal parts, starting at one tbsp and going up depending on the size of the job. Once mixed the baking soda should start to bubble. Then apply and rub into the stained area for about two or three minutes.

Last but not least, our third solution for getting rid of turmeric stains consists of vinegar, dish soap, and water. Combine all three ingredients while trying to keep them equal parts as well. Once created, simply submerge the stain in the mixture for a few minutes or until you start to see results.

Hopefully these methods are helpful in making sure that the benefits of turmeric aren’t weighed down by the mess that using the super substance can come with. If you have another way of getting rid of these stains, be sure to comment on this post.