Mullein
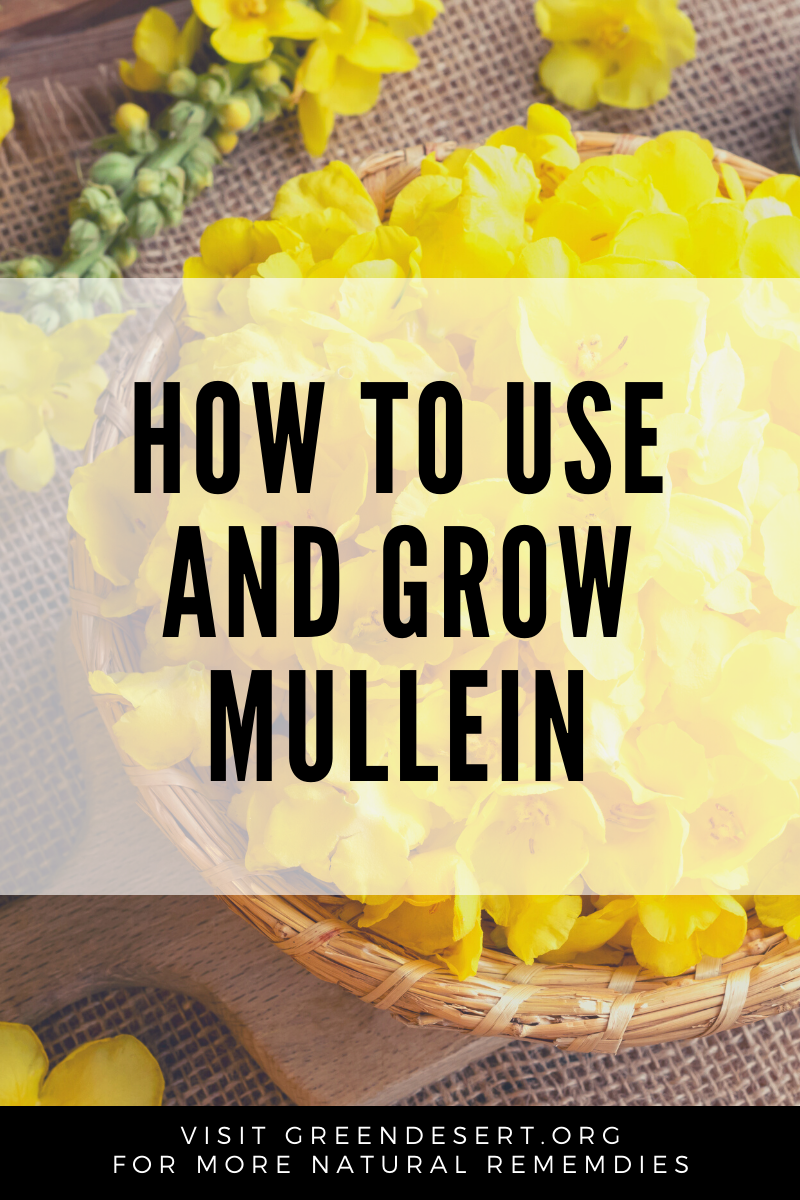
HOW TO USE AND GROW MULLEIN
The mullein plant has more than 200 species and has been around for centuries. But recently it’s become more widely used. So what’s the hype all about?
Mullein grows all over the country; it’s commonly known as Verbascum Thapsus. Many people consider it a invasive weed until they are introduced to all of its medicinal benefits.
Herbalists use it for a variety of issues including respiratory problems, skin conditions, to help fight viral infections, aid with ear aches, sleep, pain and so much more. It’s also known to have anti-inflammatory properties; it’s an expectorant… so mullein is beneficial to the lungs and filled with antioxidants.
Studies show mullein has potent therapeutic properties that come from the nectar and stamens of the plant and if you get close enough, you may smell a honey-like fragrance coming from the pretty flowers of the plant.
The leaves are harvested near the bottom of the plant and used either fresh or dried to make various products. The flowers are linked to several health benefits too.
One of the more popular ways to reap its benefits is by making mullein tea. In fact some lab studies show adding mullein to your tea helps fight against influenza A, herpes, soothing a sore throat and cough… it’s even supposed to relieve asthma symptoms. And the anti-bacterial properties are believed to help you get over infections faster by strengthening your immune system. It’s also known to cleanse the bloodstream of free radicals due to its polyphenol antioxidants.
So how do you make mullein tea?
Mullein leaves and flowers are great for naturally caffeine-free tea and it’s so easy to make:
- Bring 2 cups of water to a boil.
- Pour hot water over 2 teaspoons of dried mullein leaves and/or flowers. Keep in mind the flowers make a sweeter tea.
- Let the tea steep for about 10 minutes
- Filter the tea. Some people use cheesecloth, tea balls or other types of strainers. Whatever you use, DO NOT skip this step because mullein is covered in tiny, soft hairs and if you don’t filter them, it can irritate your throat.
- Add your desired sweetener. I tend to use honey.
- Once you’re done, toss the leaves into your compost… waste nothingJ
- And you don’t necessarily have to drink the tea… let the tea cool down and gargle it for sore throats and cough.
Not much of a tea fan? There are other ways to enjoy the medicinal benefits;
- Ironically mullein can be smoked in order to treat lung conditions. I had never heard of smoking anything to benefit your lungs, but research shows it actually helps.
- Another option is to prepare an inhalant. Just boil the leaves for about five minutes and inhale the steam to help with dryness in the respiratory tissue. It’s supposed to relieve coughs, asthma and congestion.
- The fresh leaves and flowers are also a tasty addition to salads.
- The flowers can be used to create bright yellow or green dyes too!
Regardless of how you use the herbs, remember dried herbs are stronger than fresh herbs. Fresh herbs have a lot of water and moisture. I try to use fresh herbs from my garden whenever possible, but again you’re still getting the medicinal benefits from dried herbs…. Just double the amount if you’re going to use it fresh.
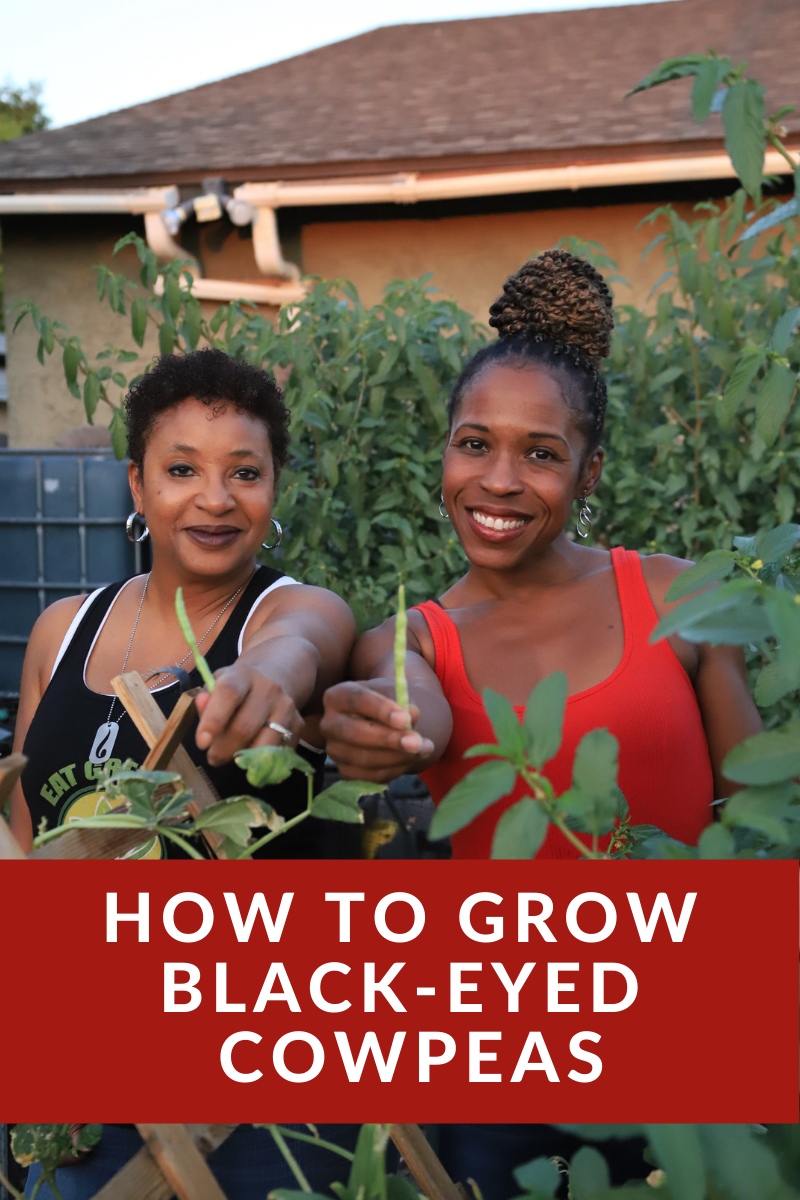
How to grow mullein
If you’re gonna indulge in this yummy, medicinal herb, you may as well grow it. No, it isn’t a common herb that you’ll find in backyard gardens like mint and basil, but it grows just as easy. In fact, you’ve probably seen the flowers on the side of the road or growing in fields and didn’t know it. That shows you how feasible it is to have in your yard. It’s not picky about the quality of soil but it prefers well-draining, dry or sandy soil.
It also likes lots of space. Mullein plants can grow as tall as 10 feet high and the leaves can spread 2 feet across.
Mullein is biennial, and it’s also frost resistant. But the plants prefer full sunlight in a dry, warm location.
It’s best to start mullein seeds indoors 6-8 weeks before the last frost in spring. Sprinkle seeds on the top of the potting soil before watering well. Be patient, mullein seeds take about two weeks to germinate.
Keep in mind, mullein develops a deep taproot, so If you are going to move the mullein, the sooner the better.
If you have a longer growing season, you can also sow the seeds directly in the garden in late spring.
Try not to keep the soil consistently moist, otherwise. You’ll reduce growth.
Between June and October is the best time to harvest the flowers and leaves. It’s best to use tender, young leaves.
Check out our Etsy shop for all sorts of GMO FREE seeds and teas
And no matter what the ailment, I believe there is a natural remedy to help.
We have an entire page of natural remedies. If you have natural remedies you’ve used, please share them — it takes a community!